The Birth of Benchwork
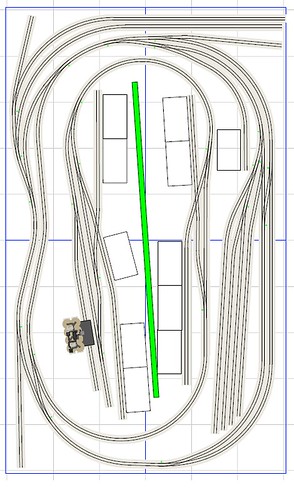
So lets start building a layout. The B&SW (above) has 4, 3'x5' sections to make the overall 6'x10' layout. Lumber is all 3/4 inch birch plywood ripped into 6"x8' strips.
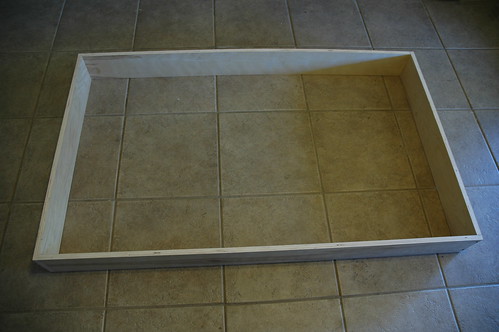
8' strips were cut into 3' and 5' long pieces that were constructed into a box (pictured above)
Since this layout is my first I wanted to try a few different construction techniques. The B&SW has two different tops, half the layout has a 2" foam top and the other half has 1/2" plywood with 1/2" foam top.
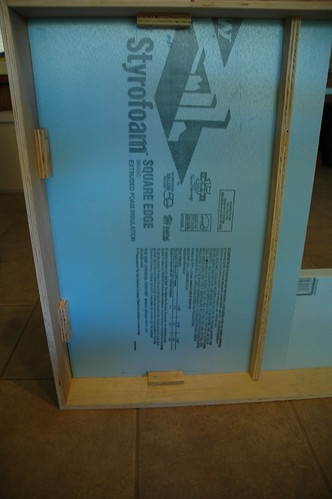
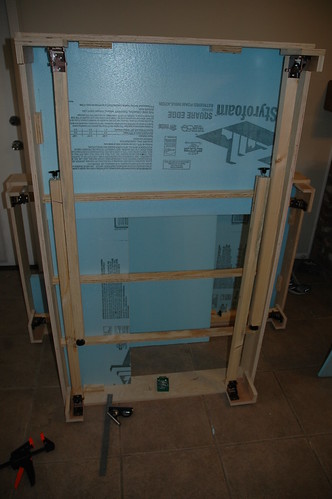
The picture above gives you an idea on how I braced the 2" foam top, the other half is braced similarly just feature the plywood and foam top.
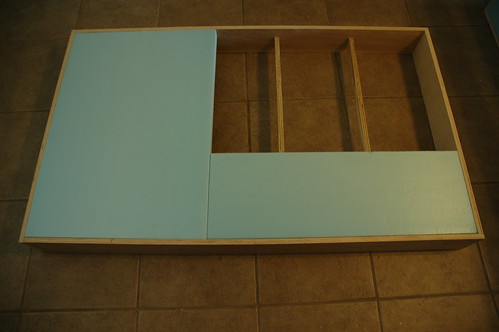
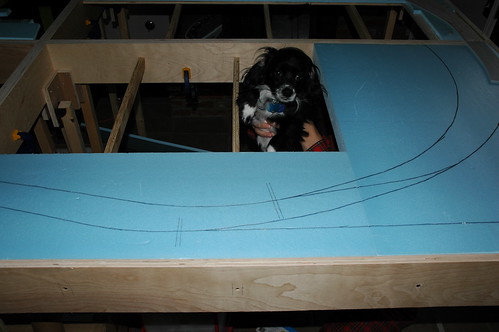
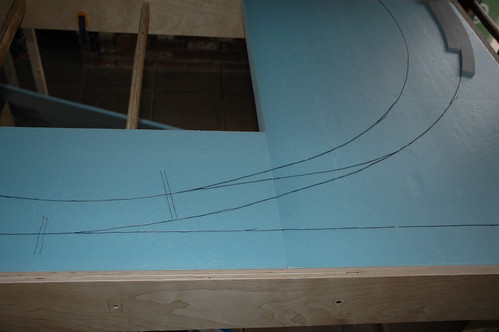
The top down view shows the other braces in the opening in upper right that will have the branch built at a 2" higher than the rest of the layout.
This picture shows the finish section with the hardware for the folding legs from Lee Valley Tools (PN 00T16.10). It also shows how close the legs are to touching to allow just enough clearance to allow them to close.
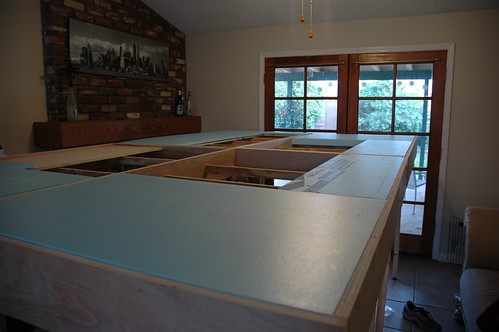
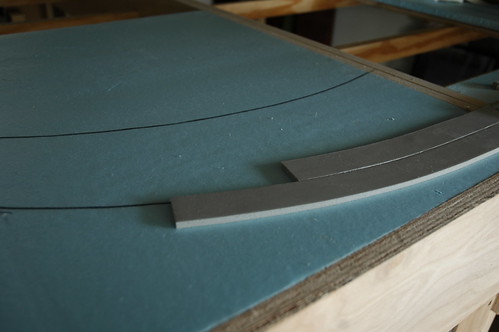
Final this gives you an idea of the simi-finish product, you can see the plywood top on the left and the foam only top on the right.
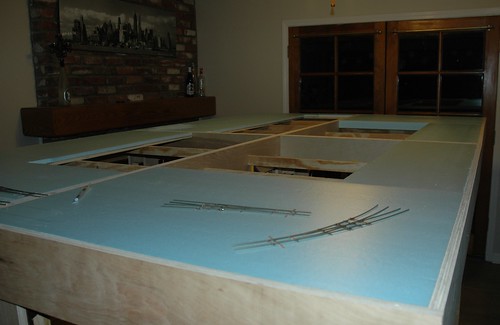
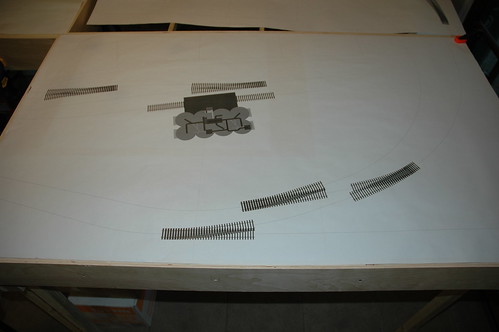
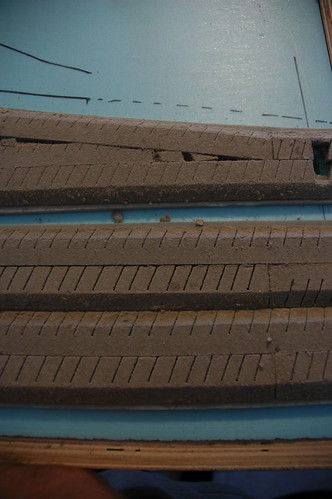
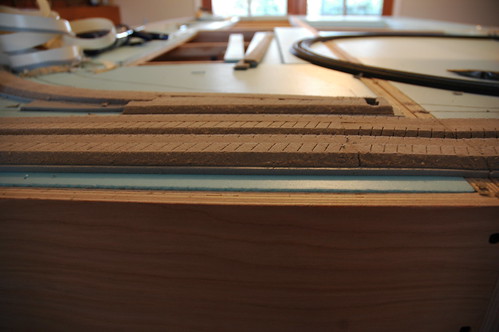
The final product is seen above with the foam top glued down.The fasttracks skeleton switches are on the layout as I start laying out the trackplan. The height of the layout is 50", this is based off of my Free-mo experiences and I think can give a more realistic viewing height.
Chris
Lancaster, CA
So lets start building a layout. The B&SW (above) has 4, 3'x5' sections to make the overall 6'x10' layout. Lumber is all 3/4 inch birch plywood ripped into 6"x8' strips.
8' strips were cut into 3' and 5' long pieces that were constructed into a box (pictured above)
Since this layout is my first I wanted to try a few different construction techniques. The B&SW has two different tops, half the layout has a 2" foam top and the other half has 1/2" plywood with 1/2" foam top.
The picture above gives you an idea on how I braced the 2" foam top, the other half is braced similarly just feature the plywood and foam top.
The top down view shows the other braces in the opening in upper right that will have the branch built at a 2" higher than the rest of the layout.
This picture shows the finish section with the hardware for the folding legs from Lee Valley Tools (PN 00T16.10). It also shows how close the legs are to touching to allow just enough clearance to allow them to close.
Final this gives you an idea of the simi-finish product, you can see the plywood top on the left and the foam only top on the right.
The final product is seen above with the foam top glued down.The fasttracks skeleton switches are on the layout as I start laying out the trackplan. The height of the layout is 50", this is based off of my Free-mo experiences and I think can give a more realistic viewing height.
Chris
Lancaster, CA
~Chris Stilson :: RITMRC
Moderator: Scale Model Railroading :: RAILROAD.NET West Coast Division
The Swoosh makes the trains go faster!
Check out the Buffalo and Southwestern
Moderator: Scale Model Railroading :: RAILROAD.NET West Coast Division
The Swoosh makes the trains go faster!
Check out the Buffalo and Southwestern