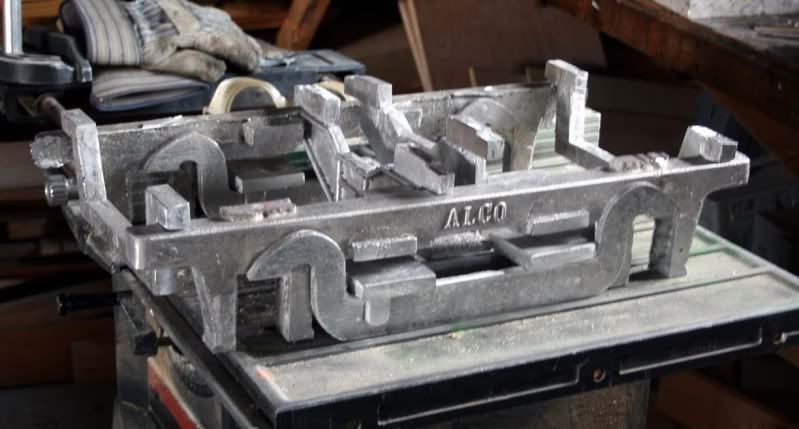
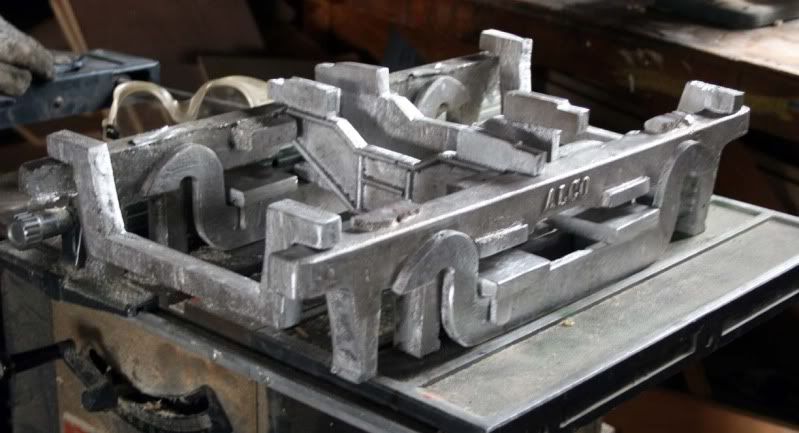
• Long Island C420 project in 1/8th scale

  • Discussion of the past and present operations of the Long Island Rail Road.
Discussion of the past and present operations of the Long Island Rail Road.

Moderator: Liquidcamphor

  by RGlueck
 
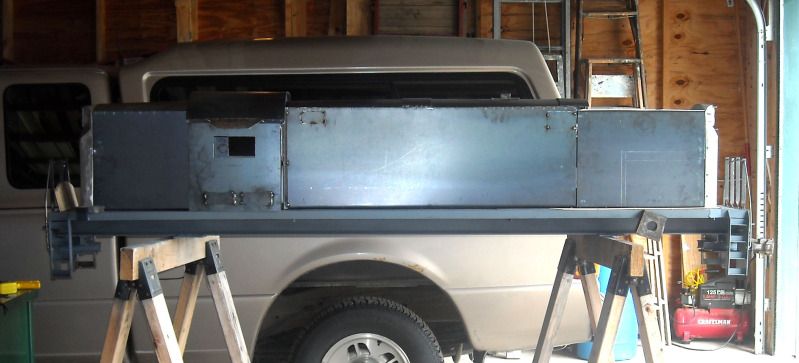
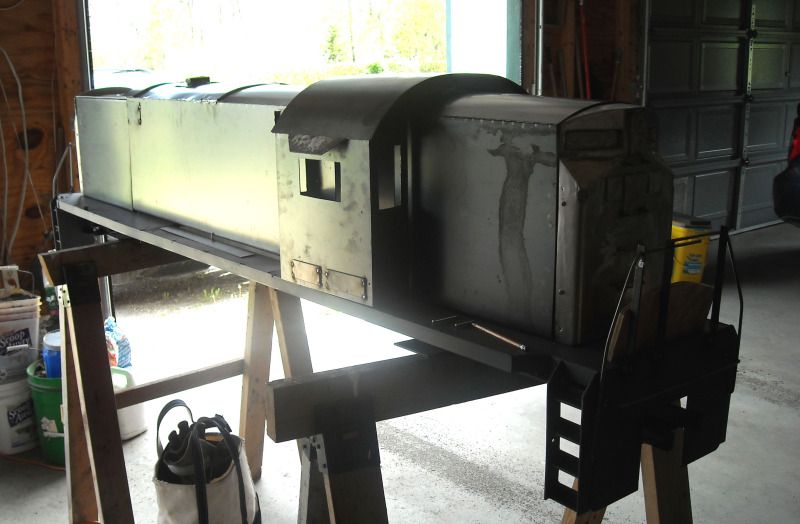
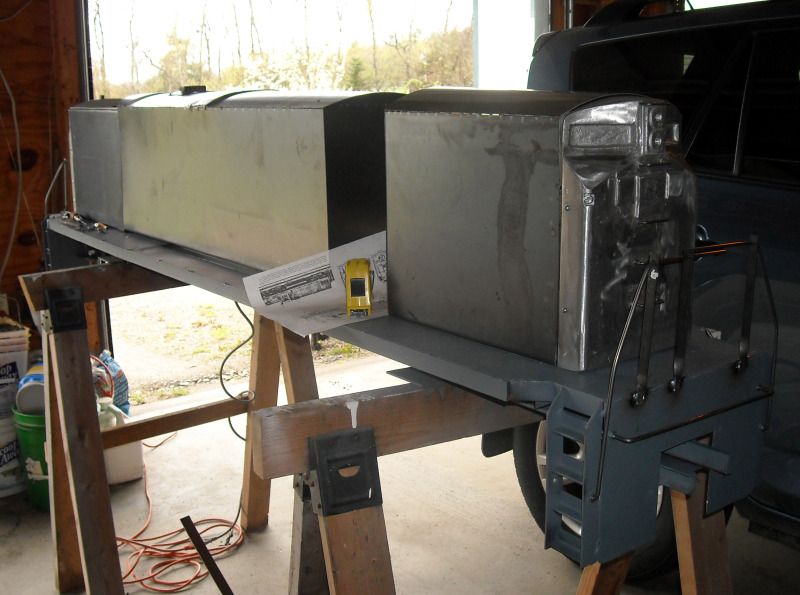
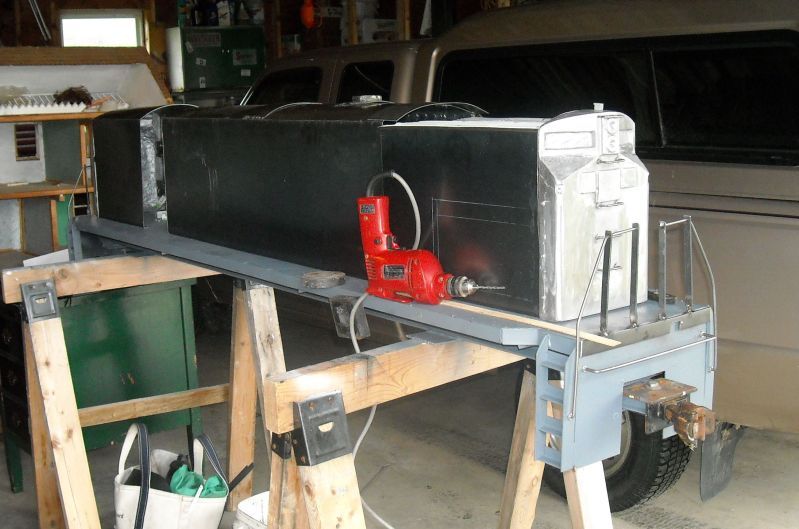
May 04, update. I've built and installed the short end, high-hood. This was where the LIRR C420's held steam generators for the commuter coaches they hauled for millions of miles.
Image

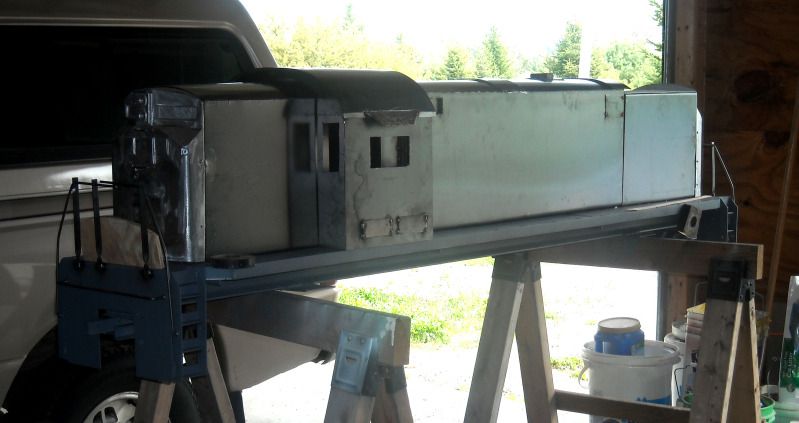
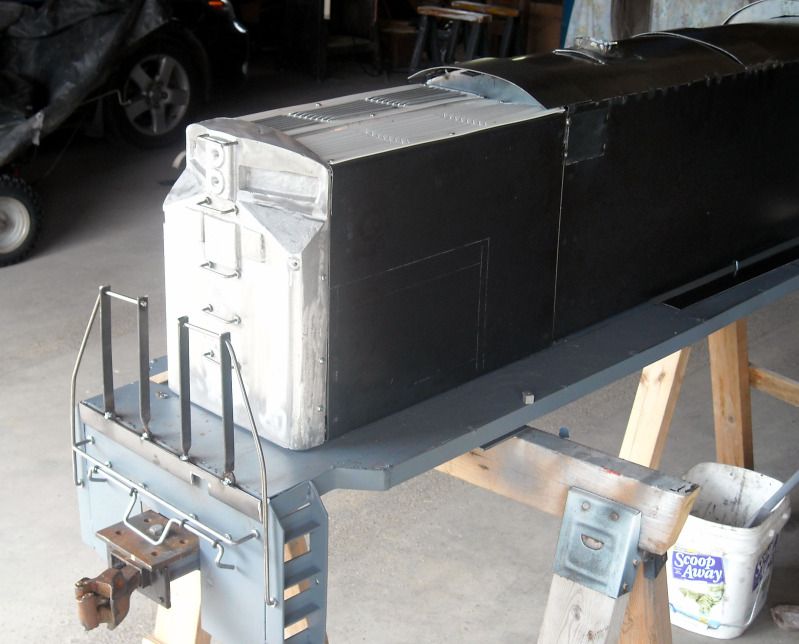
The front doesn't look too different than before, but I've built the center section of the hood and added ventilator louvers to the top of the radiator fan compartment. I have not yet installed the 24 volt muffin fans I recovered from an old computer. I doubt they'll make much difference, but air circulation is a good thing around electronics. You might note the front side louvers are not yet fabricated. I have been searching for a way to step around that tedium, but haven't yet discovered it. The Devil is in the details, yes?
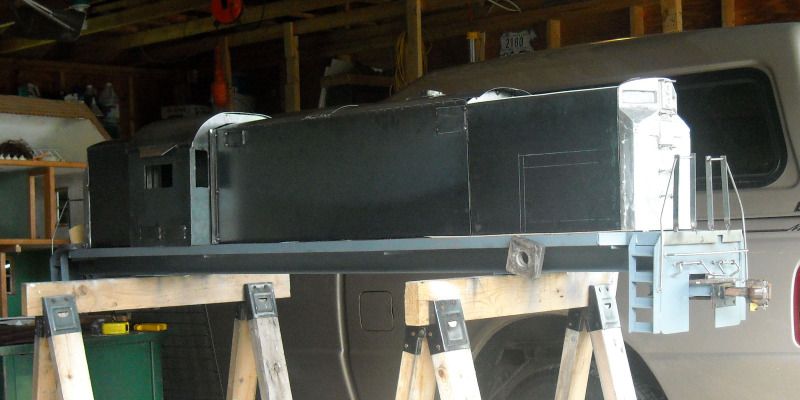
The engineer's side looks to set better than the fireman's side, but neither side is completely spread out, nor are they screwed down.
Image
Image

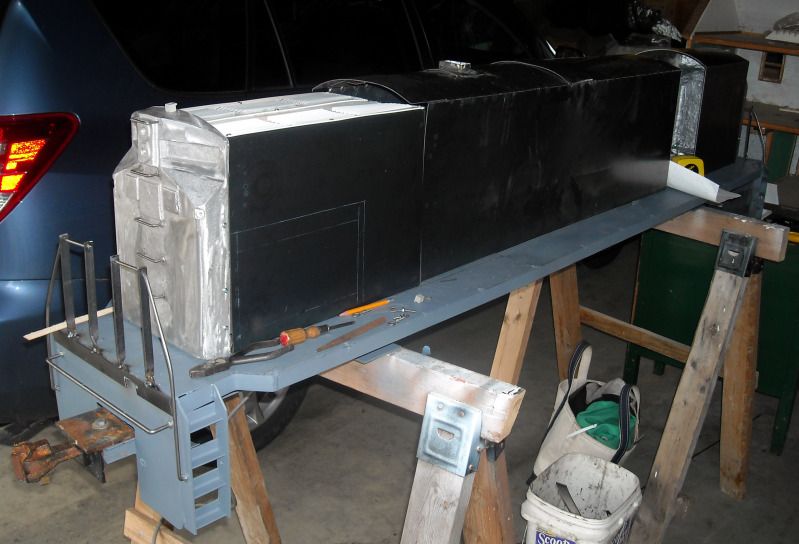
And of course, I need to get those tasks completed in order to fit the cab properly. There appear to be cracks and tiny gaps, no matter what is done to eliminate them. What kinds of putty or hard compound do you guys use to provide "make up"?
  by Teutobergerwald
 
Will she be from the first group, 200-221 or the second group, 222-229, with Hi-Ad trucks ???
  by RGlueck
 
Most likely 206, from the first group. Possibly 215, the first to be seriously wrecked and restored. On truck is already cast, but not yet assembled, the other is in the casting process. The trucks are made from wooden forms, made in my garage shop, then cast in aluminum from recovered lawn mower engines.

Image

Image
  by 452 Card
 
To jump ahead abit, what is the plan for wheels, journal boxes, springs and other running gear? Real air brake, or is the model a static display? Maybe you could fabricate the lower f-end louvers from aluminum floor vents or soffit vents. Just an idea.
  by RGlueck
 
Thank you for the suggestions. Okay, I will add replica brake apparatus, but with an electrically powered locomotive, it is unnecessary to bring it to a halt. With my steam locomotive, I have to use the Johnson bar to slow it. That's a fault of the engine and perhaps one day, I can get it corrected. Many operators use air or vacuum brakes, which I've seen in action, and they are well worth the expense and work. I generally stop my train with New Balance sneakers. Not a recommended practice.
I did pick up the cover of a used A?C unit at the transfer station this afternoon. If I can cut out the side louvers as a unit, they should fit into the side space beautifully.
BTW, I really appreciate all the thoughtful comments!
  by frankie
 
Very impressive endevor! Keep us continuously posted with your progress - I have the feeling that this thread will be here for a long while before dropping off the bottom. I can't wait to see the finished engine.

Frankie
  by 452 Card
 
I did not know the unit was to be electrically powered, so I presume it will run somewhere. I would like to see the end result on the track, as I ran all of these early in my tenure at the LI.They were a great engine to run, but the visibility was so limited because of the long hood forward. The L2s rode real bad, due to the truck replacement on the 222 to 299. Real sloppy side motion and carbody sway. Anyway, I am glad you chose to use the first generation truck, and it looks real "right". And again, where will the wheels come from?
  by RGlueck
 
She'll be electrically powered using wheel chair motors, one on each truck. All wheels will drive. For right now, I'll probably be running her in Maine and possibly Quebec City, but once I figure out how to trailer her (she's a long locomotive) I'll bring her down to Long Island or wherever we're invited. I thought about gasoline hydraulic drive and gasoline to an alternator, to batteries to motors, but the locomotive is about two hundred pounds as she stands today. With batteries and motors, I am figuring 400 - 500 pounds.
The paint scheme will be as delivered, since I want to amplify her heritage on the Long Island Rail Road, and not part of the "Evil M-pire". I am going to number her 206, as she was an old friend, and we always wound up meeting whenever I went out shooting pictures. My friend, Al Castelli, suggested that when she's done, we take as many pictures of models of LIRR C420's in as many model scales as possible, and place them together. I think Al's got a great idea. For what it's worth, this model measures about 90" long.

Now, as for wheels, here I'm a bit stuck, and would welcome help or suggestions. The C420 in this scale takes a 5" diameter wheel. My usual source man is hospitalized with orthopedic surgery at present, so I'm a bit up a creek. Anybody out there do CNC lathe work? I'll be happy to seen the International Brotherhood of Live Steamers milling specs to you so we can discuss pricing and axle length! They must profile out to a standard that is critical to performance.

I'm onto the cab later this week.
  by Crabman1130
 
I have a picture of 206 in gray and orange, but I can't load it.
Last edited by Crabman1130 on Mon May 07, 2012 8:48 pm, edited 1 time in total.
  by RGlueck
 
Regarding the trucks - I wanted to make them so they'd ride on the leaf springs like the real locos did, however I am going to rely on the coil springs to support her, and the leaf will be a mock up. I never like the high adhesion trucks, but perhaps they were chosen because that's what ALCO was issuing at the time they arrived. The "yellow-birds" were an interesting variation on the familiar C420's we knew so well, but they nver really connected to me. They were always New York State locomotives, not Long Island locomotives. The pastel paint was very pretty, but even that fell by the wayside after the L1's got the blue and yellow paint treatment. I remember a group of us college-boy railfans going out each Friday afternoon in the summer and waiting someplace for the Cannonball and Shelter Island Express, the East Ender, the Advance C-Ball, to hammer out to the end of the Island. One afternoon, the C-Ball hammered past Nassau Tower and that powerful locomotive on the point just bounced and swayed, and rode those leaf spring trucks from side to side as she covered the Oyster Bay Branch switch at 70 mph! What an impression that made on me!
  by hotbike
 
Mr. Glueck,

I read your post and it appears you have got a great project in the works. However, I have two items which may be of interest to you:

First, there is no need to take apart an electric wheelchair. There are motors available which may be based on wheelchair motor designs, but they are sold as kits for Electric Bikes. I suggest you have a look at this site:
http://www.electricscooterparts.com/motors.html
You could do your own Google search for "Electric Bicycles" , if you want to see more.
You should also buy an electric bike motor controller. These operate by means of "Pulse Width Modulation", much like a model railroad transformer:
http://www.electricscooterparts.com/spe ... llers.html

Second, there is a trick to cutting slots in sheet metal to create louvers ; put the sheet metal on a piece of plywood, at least 3/4 inch thick, and use a hammer and a wood chisel to cut the slots. The slant of the louvers can be managed by tapping with another hammer, and maybe with a pair of pliers.
  by Tadman
 
For wheels - you could use overhead crane wheels. They're double-flanged so you'd have to have a machine shop turn them down, but any light-capacity crane with Budgit or Harrington components is a good starting place. I'll check my former employer's boneyard to see if we have anything you can start with. Drop me a PM with your contact info.

For reference, check out the gearmotor assemblies on this product:
http://harringtonhoists.com/products/su ... 14&priID=5
  by RGlueck
 
Hotbike, I have dismantled three electric wheelchairs and have components on hand, ready to install. These are probably "the standard" in the hobby, so while I appreciate your suggestion, I think I'm set. The controller might be another thing, as the voltage/amp load could prove a difficulty.

Tadman, I need 5" diameter steel wheels and they need to be profiles to IBLS* standards before I will use them. These profiles have a safety standard, as well as performance standard, figured into them. I actually made contact with a CNC machinist this very afternoon, and we'll see if he can produce the required wheels within my budget. I'll let everybody know when the wheels and trucks are ready to be added.
In the interim, I will contact you off the board.

I genuinely appreciate input and suggestions.
  by 452 Card
 
Smoke? All the ALCOs smoked alot. Is there a smoke unit for 1/8 scale? I'm only familiar with O scale.
  by RGlueck
 
Latest pictures of the project, with a list of self-criticisms.
I finally undertook the cab which admittedly, was a matter of some trepidation. I am not really good at cutting curves, and it shows. There is a matter height as well, which may actually serve to alleviate a problem. ALCO hounds may note the cab is about 1/4" inch too tall for the hood. This is the same location as an obvious gap between the from cab walls and the hoods on both sides. I will probably remove the hood and cut the error off the bottom, and grind out the curvature errors to better match the hoods. I may also face the gaps will corrected sheet metal and either weld or epoxy the coverage in place. People tell me J.B. Weld is a Godsend. The other possible error is the length of the ladders. Again, a relatively easy fix.

Image
End to end, Long Island 206 measures 83 inches, excluding draft gear and couplers. These will be permanently fit when I get the trucks under her.

Image
Image
Steam generator end looking forward.

Image

Image
Top radiator grates are aluminum louvers from Home Depot roofing and insulation department. Not a perfect match, but too close to quibble, in this case.

I need to cut doors and sheet metal details, add some front end fixings, and then I'll post again.

Thanks for following my first attempt at a locomotive build.

-Dick
  • 1
  • 2
  • 3
  • 4
  • 5
  • 10